Why Start With These Projects?
Picking the right first project matters more than most people realize. You don't want something so simple it feels pointless, but nothing so complicated that you'll abandon it after day two. These five projects hit that sweet spot — they're straightforward enough to finish in a week, but challenging enough to teach you real techniques you'll use in everything you sew later.
What's really helpful is that you'll learn different skills with each one. The first teaches you straight seams. The second introduces curves. By the time you've finished all five, you'll understand how fabric behaves, how to read patterns, and what tension actually means. Plus, you'll have five useful items that look genuinely handmade — in the good way.
What You'll Actually Need
A basic sewing machine (doesn't need to be fancy), thread in neutral colors, fabric scissors, measuring tape, pins, and an iron. Most of these projects use cotton quilting fabric from any fabric shop — it's forgiving and inexpensive. Budget roughly £25-40 for all the materials combined if you don't already have basics at home.
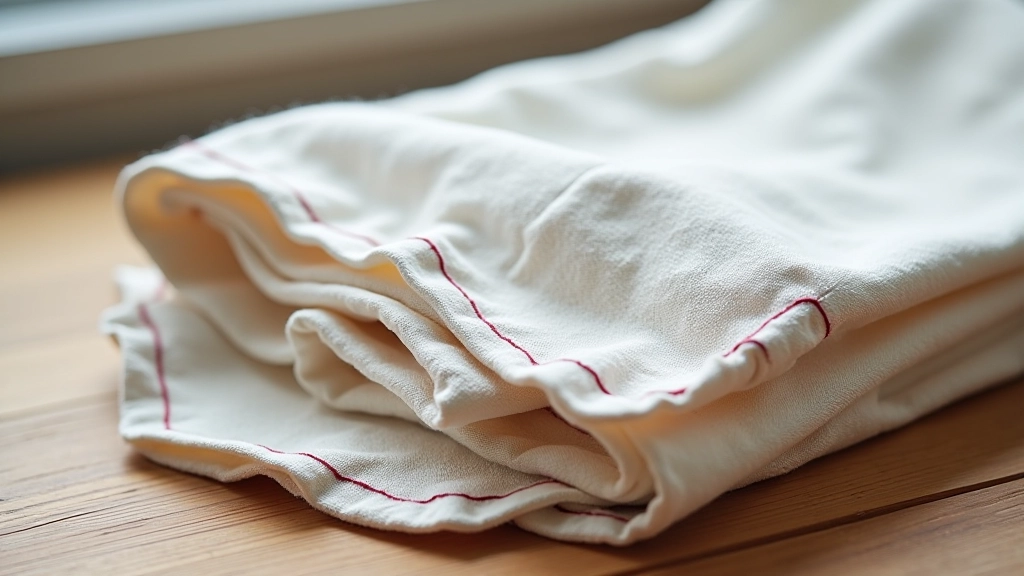
Project One: Fabric Napkins (Day 1-2)
This is genuinely the best starting point. You're working with straight edges, learning to sew a simple seam, and pressing your work. That's it. Four squares of cotton fabric, sewn together, hemmed. Twenty minutes of actual sewing time.
The real value here isn't the napkins themselves — it's understanding how your machine handles fabric. You'll notice tension issues immediately. You'll see if your seams are actually straight. And you'll press and fold something you made with your own hands. That matters.
- Cut four 40cm squares from cotton fabric
- Sew together with 1cm seam allowance
- Press seams flat, then fold edges inward 1cm
- Topstitch around all edges
- Done. Use them or gift them.
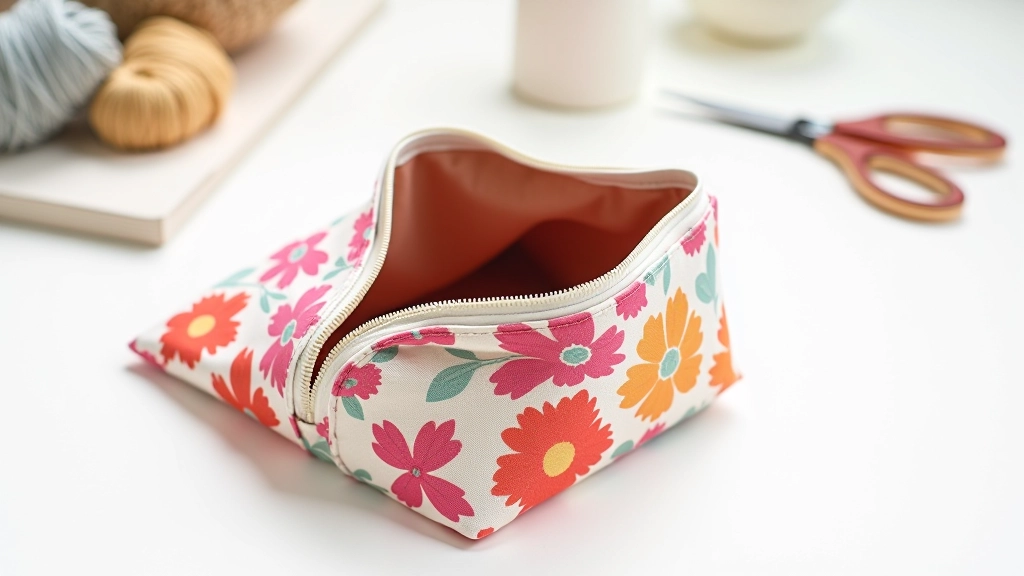
Project Two: Simple Zippered Pouch (Day 2-3)
Now you're introducing a zipper. This teaches you how to attach something that's not just a seam. It's slightly less forgiving than napkins, but not by much. A pouch is useful — people actually want these — so you'll feel like you've created something real.
The zipper part sounds scarier than it is. You'll sew the fabric pieces with the zipper sandwiched between them. The machine does the work. Once you've done it once, you'll realize zippers aren't mysterious. You'll use this skill constantly after this.
- Cut two rectangles of fabric (approximately 15cm x 20cm)
- Pin zipper face-down between the fabric pieces
- Sew along zipper with special zipper foot attachment
- Fold fabric right-sides together, sew around remaining edges
- Turn inside out, press, done
Pressing Is Not Optional
One thing separates handmade-looking projects from projects that look handmade in a rushed way: pressing. Every seam should be pressed flat before you sew across it. This takes maybe two extra minutes per project but makes an enormous difference. Your work will look sharper and more professional immediately.
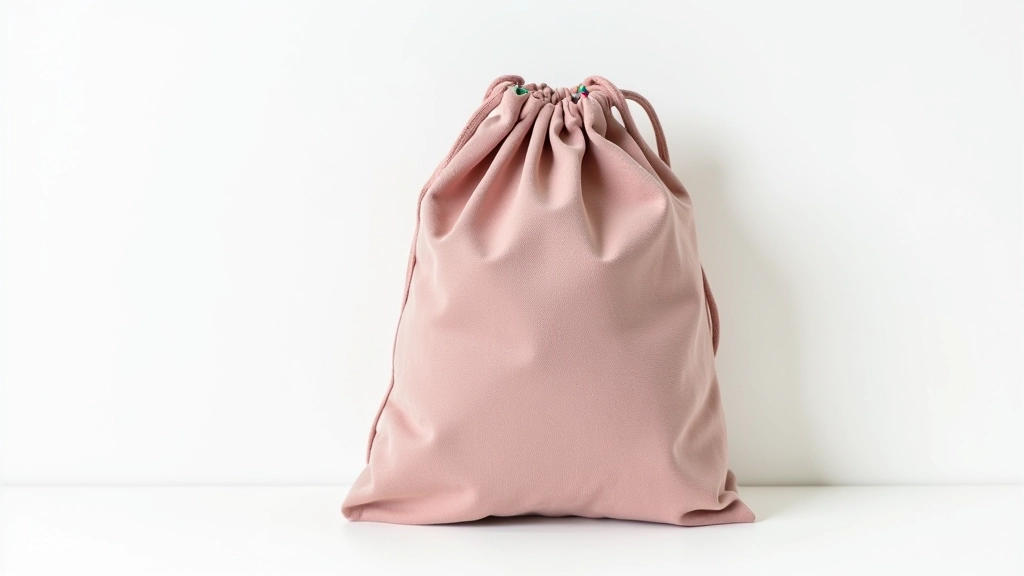
Project Three: Drawstring Bag (Day 3-4)
This one teaches you how to create a channel for threading cord or ribbon through. You're still working with straight seams, but now there's a slight variation — a fold within the seam itself. It's more interesting than the napkins, but fundamentally you're doing the same thing you've already practiced.
Drawstring bags are genuinely useful. People use them for gym kits, travel essentials, gift wrapping, storage. You'll make several of these if you keep sewing. The confidence boost from finishing something practical is real.
- Cut two rectangles approximately 20cm x 25cm
- Fold top edge down 2cm on both pieces, press
- Sew this folded edge to create channel for drawstring
- Sew sides and bottom together with right-sides facing
- Thread cord through channel using safety pin
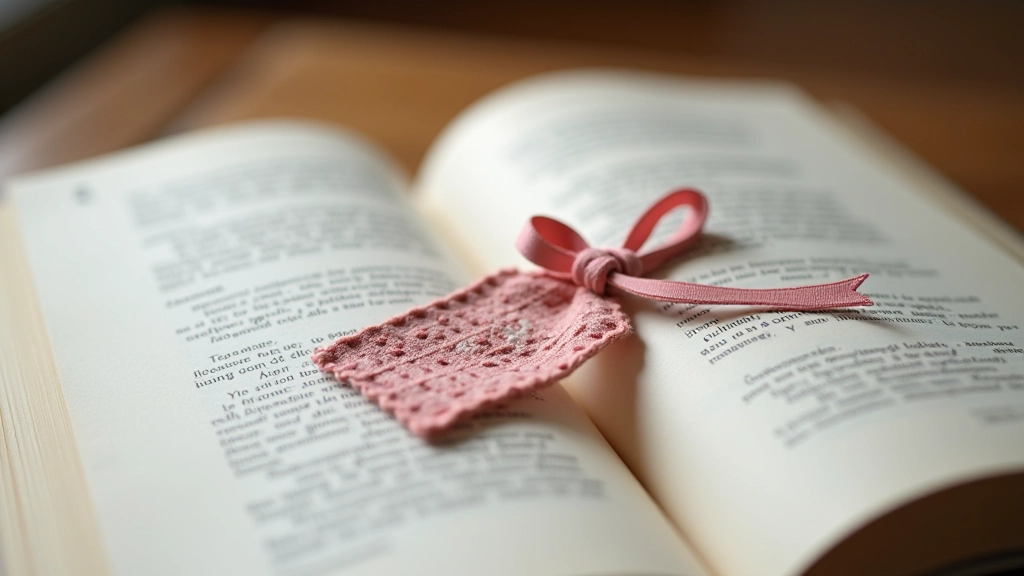
Project Four: Simple Bookmark (Day 4-5)
Bookmarks introduce you to working with smaller, narrower pieces. You'll learn how to handle fabric that's only 7cm wide — this teaches you precision without being overwhelming. Plus, bookmarks are small enough that if something goes wrong, you haven't wasted much material or time.
The bookmark also teaches you how to attach embellishments. You're adding ribbon or trim, which means understanding how to sew something decorative without it shifting. It's the first time you're thinking about aesthetics, not just function.
- Cut two pieces of fabric 7cm x 20cm
- Place ribbon or trim between fabric pieces at top
- Sew around all edges with 0.5cm seam allowance
- Leave 5cm opening on one long side
- Turn inside out through opening, press, hand-stitch opening closed
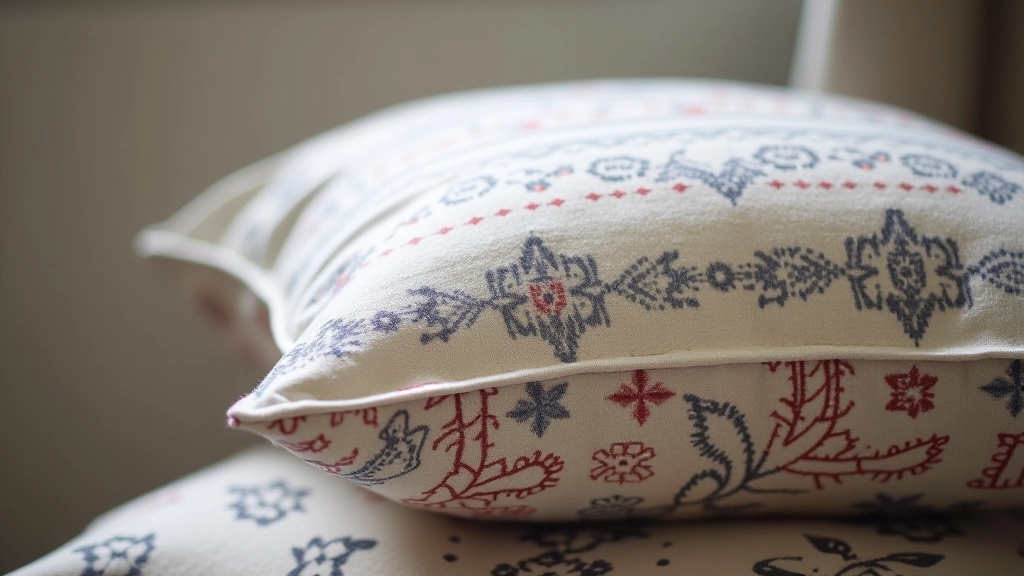
Project Five: Simple Pillowcase (Day 5-7)
By now, you've sewn napkins, managed a zipper, created a channel, and dealt with small pieces. A pillowcase feels like the graduation project. It's bigger — you're working with fabric approximately 45cm x 65cm — and it teaches you how to scale up. You're doing the same techniques you've practiced, just on a larger canvas.
A finished pillowcase is genuinely satisfying. It's something you'll use every night. It's the kind of project that makes people ask "You made that?" when they see it. And honestly, at this point, you deserve that feeling.
- Cut fabric approximately 45cm x 130cm (one long rectangle)
- Fold in half lengthwise with right-sides together
- Sew along the long edge and one short end
- Turn right-side out, press
- Fold raw edge inward 1cm and press
- Topstitch the opening closed
What You've Actually Learned
After completing these five projects, you're not a beginner anymore — you're someone who sews. You understand seam allowances. You know how to press properly. You've handled a zipper without panic. You've worked with fabric at different scales and understood how to adjust your approach accordingly.
More importantly, you've created five useful things. That's the real education. Not just the technique — it's the confidence that comes from finishing something. From holding something you made and knowing exactly how much skill went into it.
The logical next steps are obvious now. Maybe you'll make the pouch in different sizes. Perhaps you'll try a simple dress or shirt. You might attempt something with curves — like a gathered skirt. Whatever comes next, you've got the fundamentals. And that's everything.
About This Guide
This article provides educational information about beginner sewing projects. Actual completion time may vary based on your experience level, sewing machine familiarity, and available time for pressing and finishing. Measurements and materials are approximate guidelines — adapt them based on your preferences and available fabric. Always refer to your sewing machine's manual for proper threading, tension settings, and attachment usage. The projects described here are suggestions and can be modified to suit different skill levels and creative preferences.